Byzantine Chainmaille: Two ways to make jump rings
The process of chainmaille was originally used to create battle armor for soldiers between the third century B.C. and the 16th century A.D. The technique weaves small circular pieces of metal tightly together in a pattern. The practice has been refined and is still used in the 21rst century to create protective gear such as butcher gloves, protective diving gear, stab proof vests, and decorative pieces.
The process of byzantine is a pattern of chainmaille that is used in jewelry making to create rope-like textured chains that lay well.
I first discovered this unique practice when a fellow jeweler was wearing a piece they had made. I had never seen anything like it and wanted to try and make my own. There are numerous patterns that can be created for byzantine chainmaille jewelry, giving the creator unlimited options of what can be made, even though byzantine is only one of the patterns.
The base of every piece is made up of interconnecting rings called jump rings. There are two ways that make mass produce enough jump rings to weave together necklaces and bracelets.
The amount of jump rings generally required to make a 16” necklace is between 150 and 200.
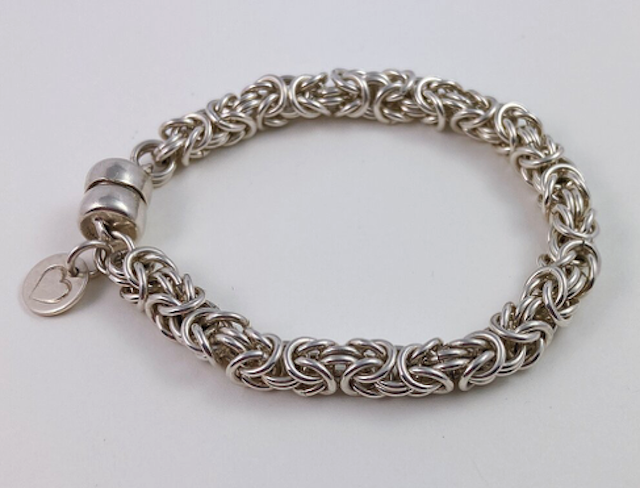
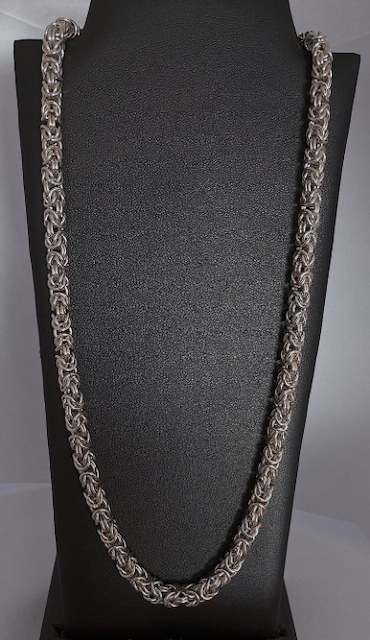
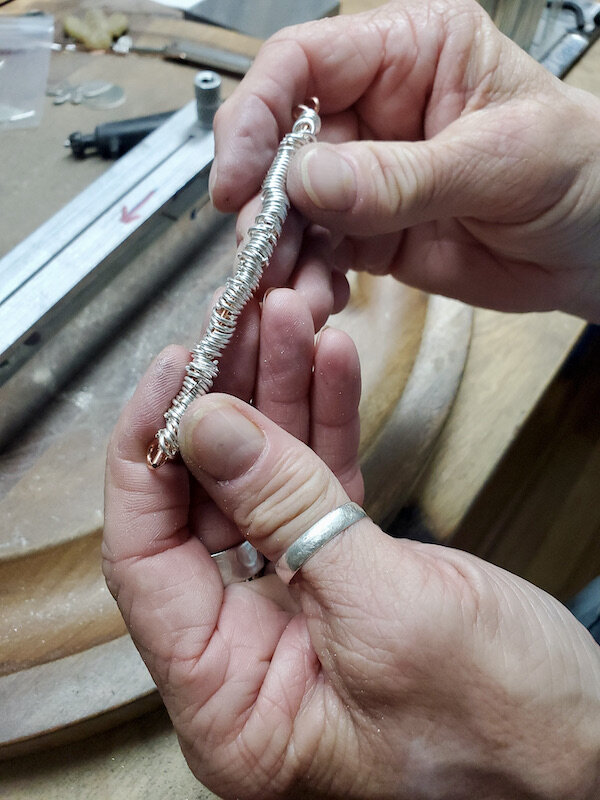
A finished byzantine chainmaille necklace looks like:
For this blog, we will be comparing the two ways of making jump rings, and the pros and cons of each process. I do have a tutorial on how to weave byzantine chainmaille necklaces in another blog here.
Process #1: using a dowel
This process requires wrapping wire around a dowel, creating a spiral.
What you need:
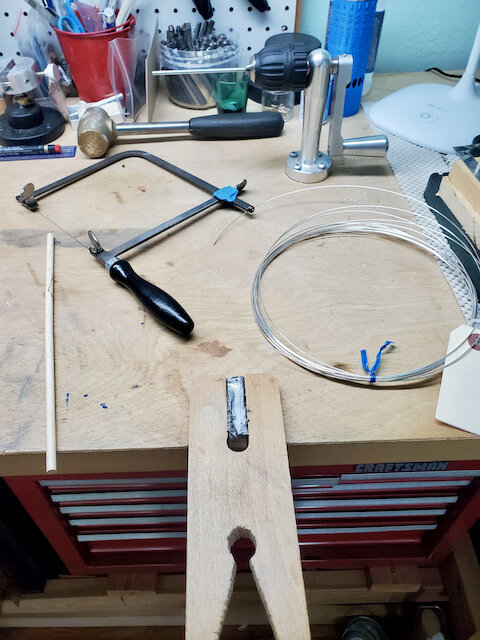
· A dowel
· Silver wire
· A metal saw
Wrap the silver around the dowel in tight circles. Keep them as uniform and with as little gapping as possible.
When you have enough spirals, use your saw to cut a straight line down the middle of your spiral and slide the rings off of your dowel.
Process #2: using a PepeTool
What you need:
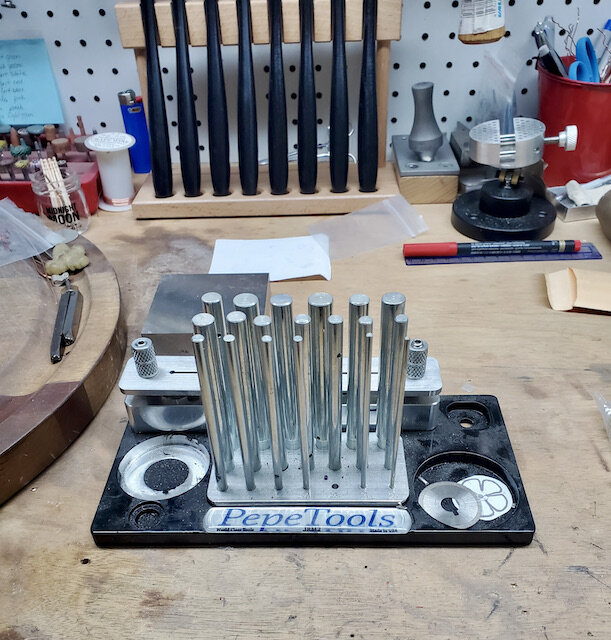
· PepeTool jump ring maker
· A flex shaft
· Wire cutters
This process cost a bit more than process #1. PepeTools ring makers can be found a few different places online, including here. I can tell you that using this tool makes a significant difference on the uniformity and overall final appearance of your byzantine chainmaille final product.
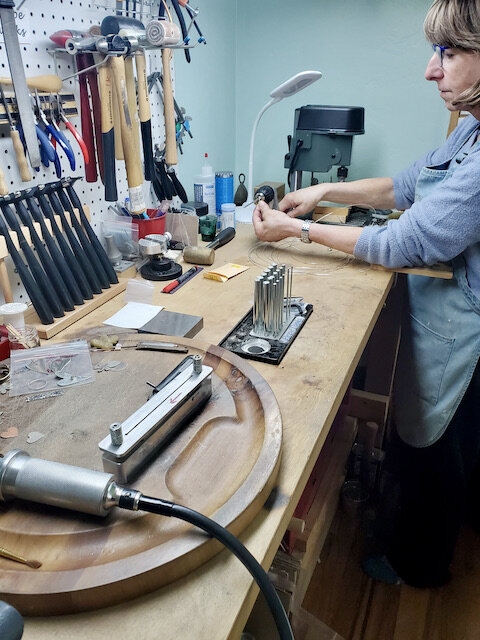
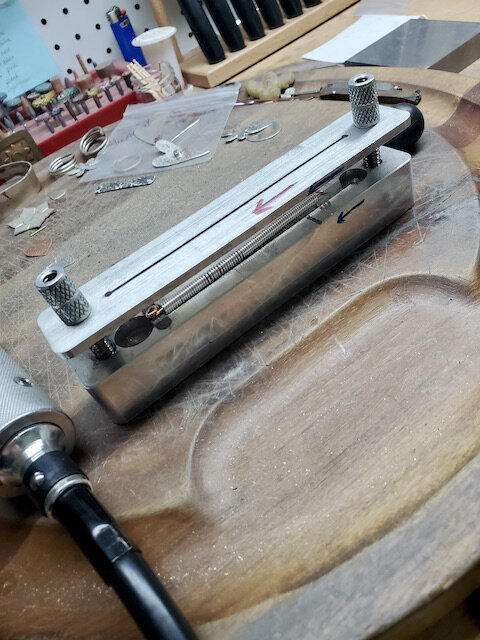
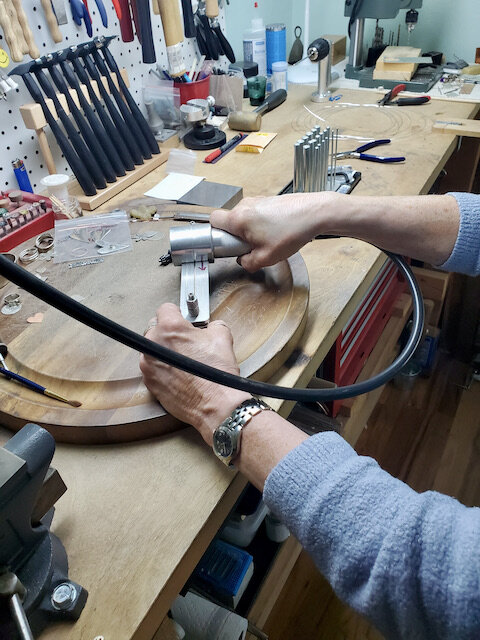
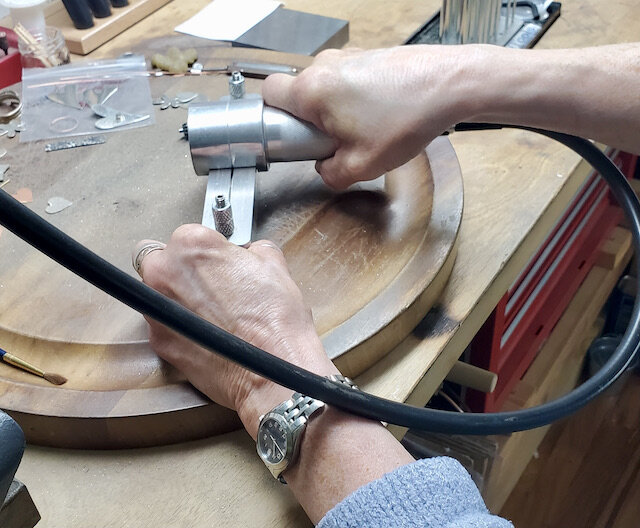
The PepeTool has several different mandril sizes, with a cutting guide. The cutting blade fits onto your flex shaft.
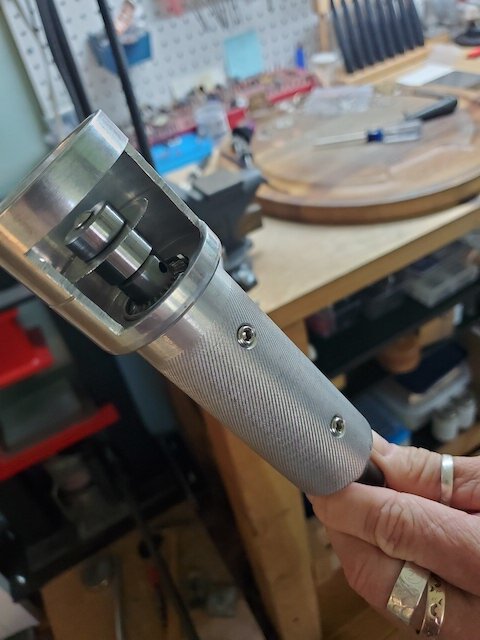
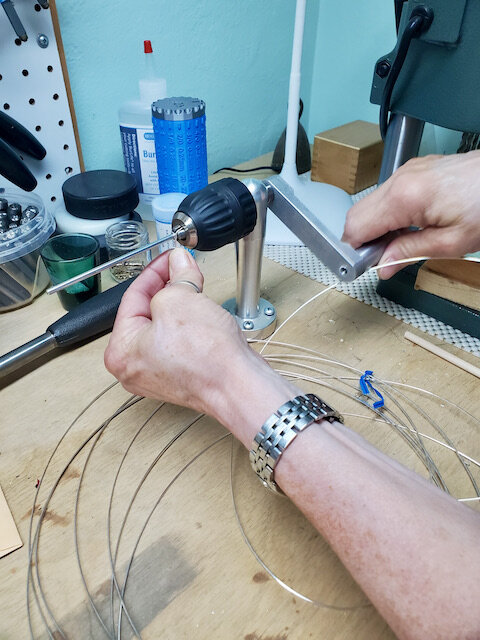
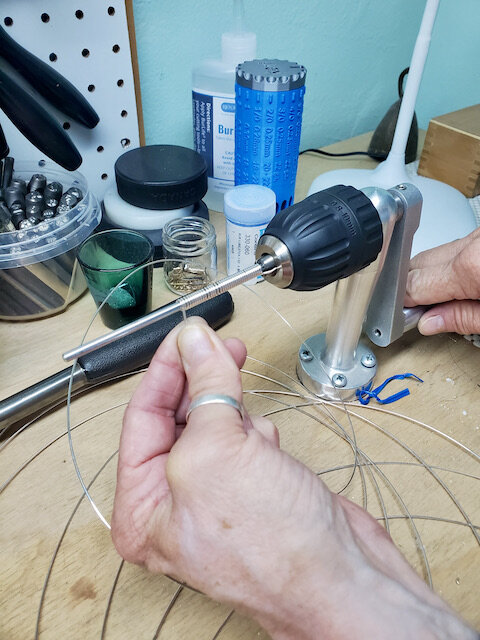
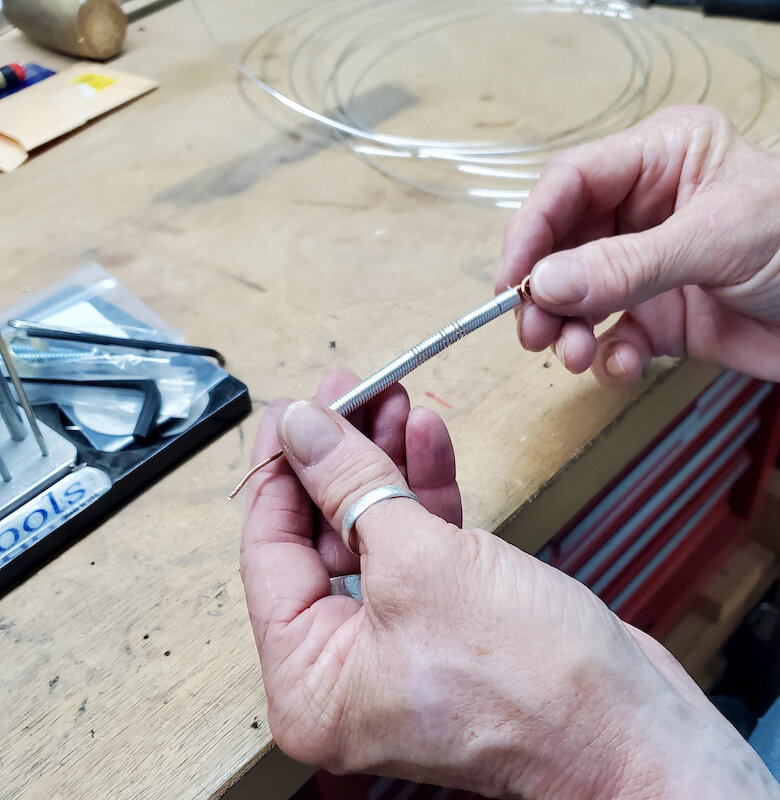
Choose the size of mandril you want to use from your PepeTool and load it onto the hand crank (this should come with your PepeTool). Hold your wire tight and crank to start creating a spiral. Try to keep the spiral as tight as possible.
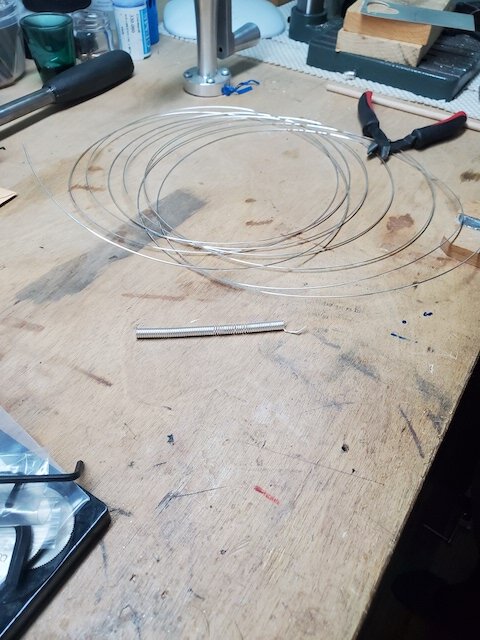
When it is as long as you want to make it, remove it from the mandril, and thread another piece of wire through the middle to hold the jump rings together after you cut them. They will absolutely fly all over the place if you skip this step.
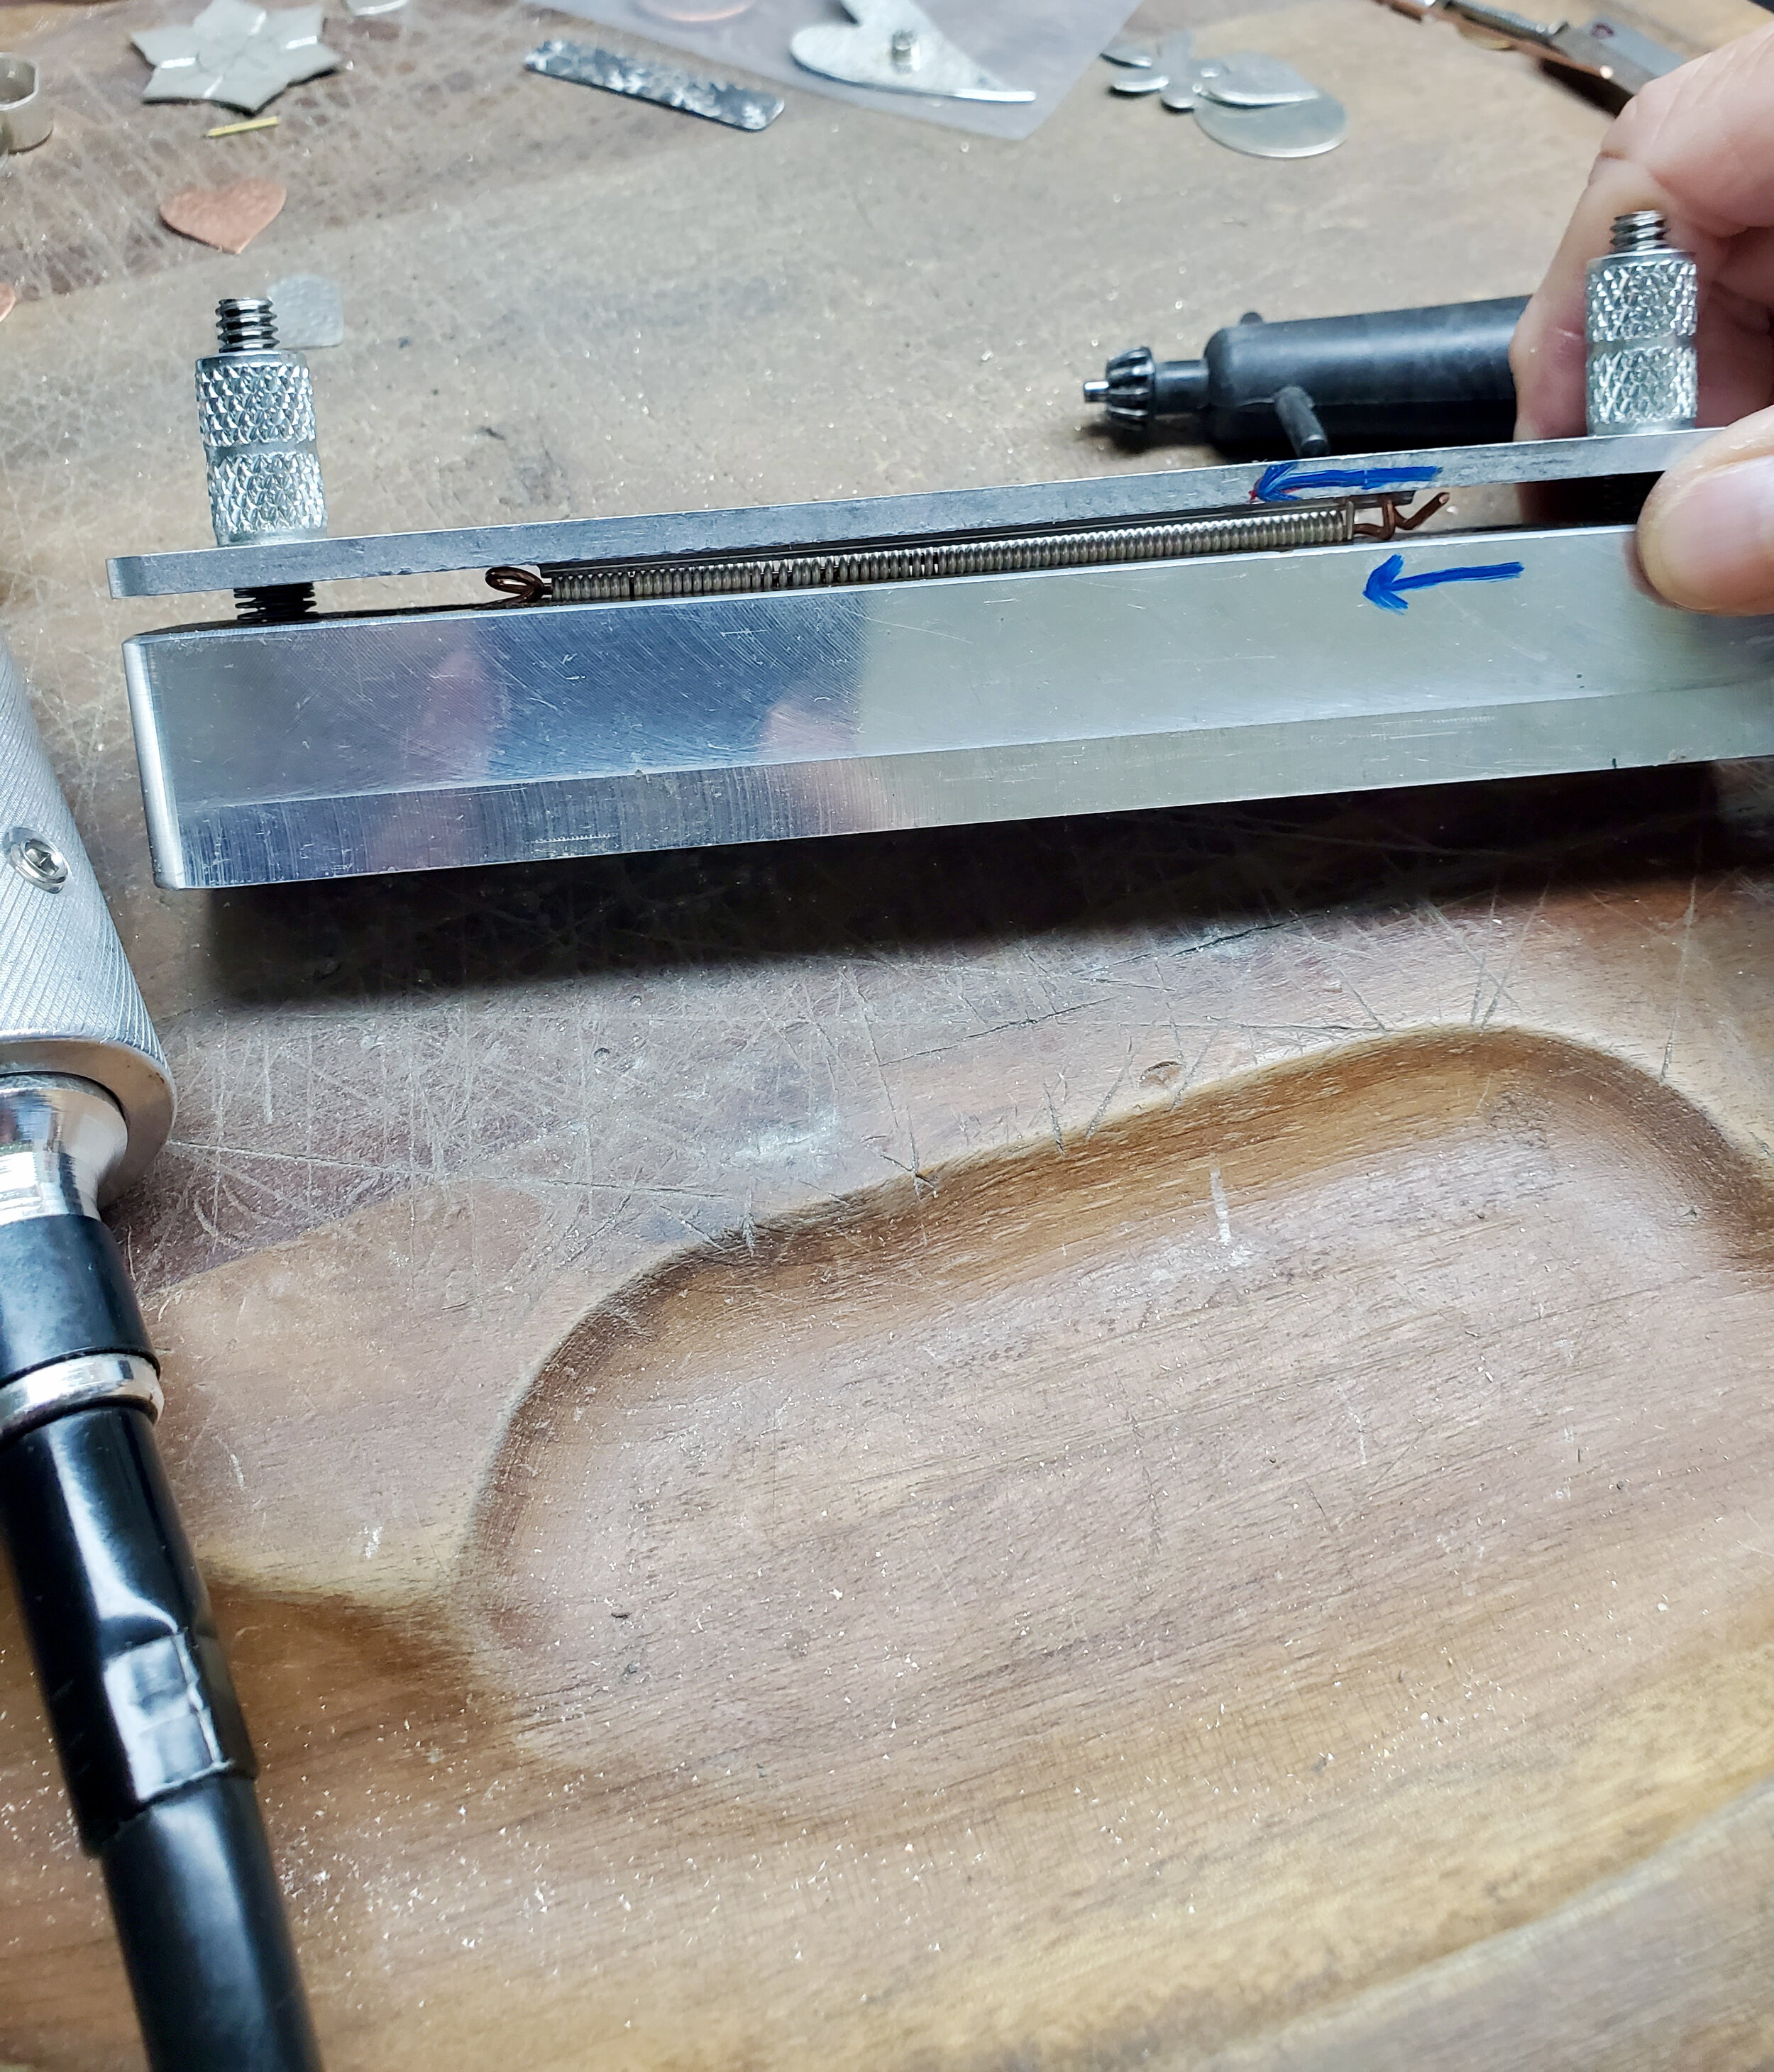
Load your spiral into the saw guide.
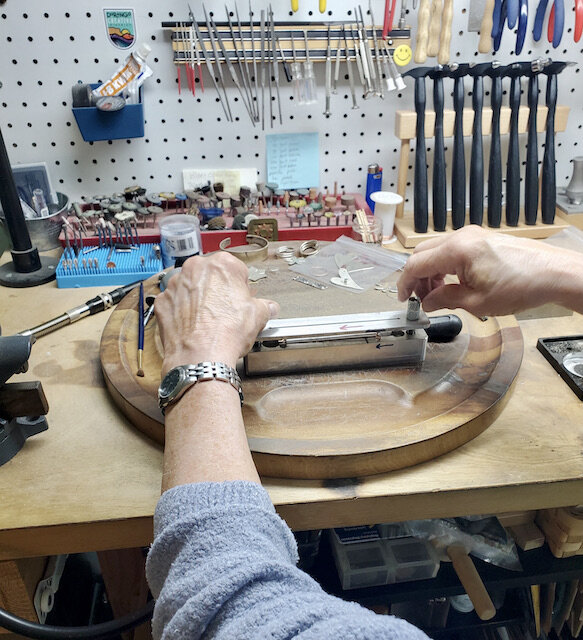
Match the hand guide of the flex shaft onto the saw guide, turn it on and slowly cut your spiral into jump rings.
And voila, you have a ton of uniform rings ready for weaving.
Comparing both processes:
Process #1
Pros
· Inexpensive
· Simple
Cons:
· Rings not uniform in cut and shape
· More difficult
· slow
Process #2
Pros
· Creates perfect uniform rings
· Cleaner cuts, so closing the rings while weaving is much easier
· Ease and speed of making hundreds of jump rings in a short period of time
Cons
· Somewhat expensive
· Must have a flex shaft and multiple items as well as a workbench to create
· You must mount your hand crank to workbench
Ultimately, process #2 and using a PepeTool is not only easier, but also much more fun. I have found my byzantine chainmaille creations from the PepeTool are far superior than when I use process #1. If you have any questions about jump rings or anything at all, don’t hesitate to reach out. I am happy to help! Reach me here.

