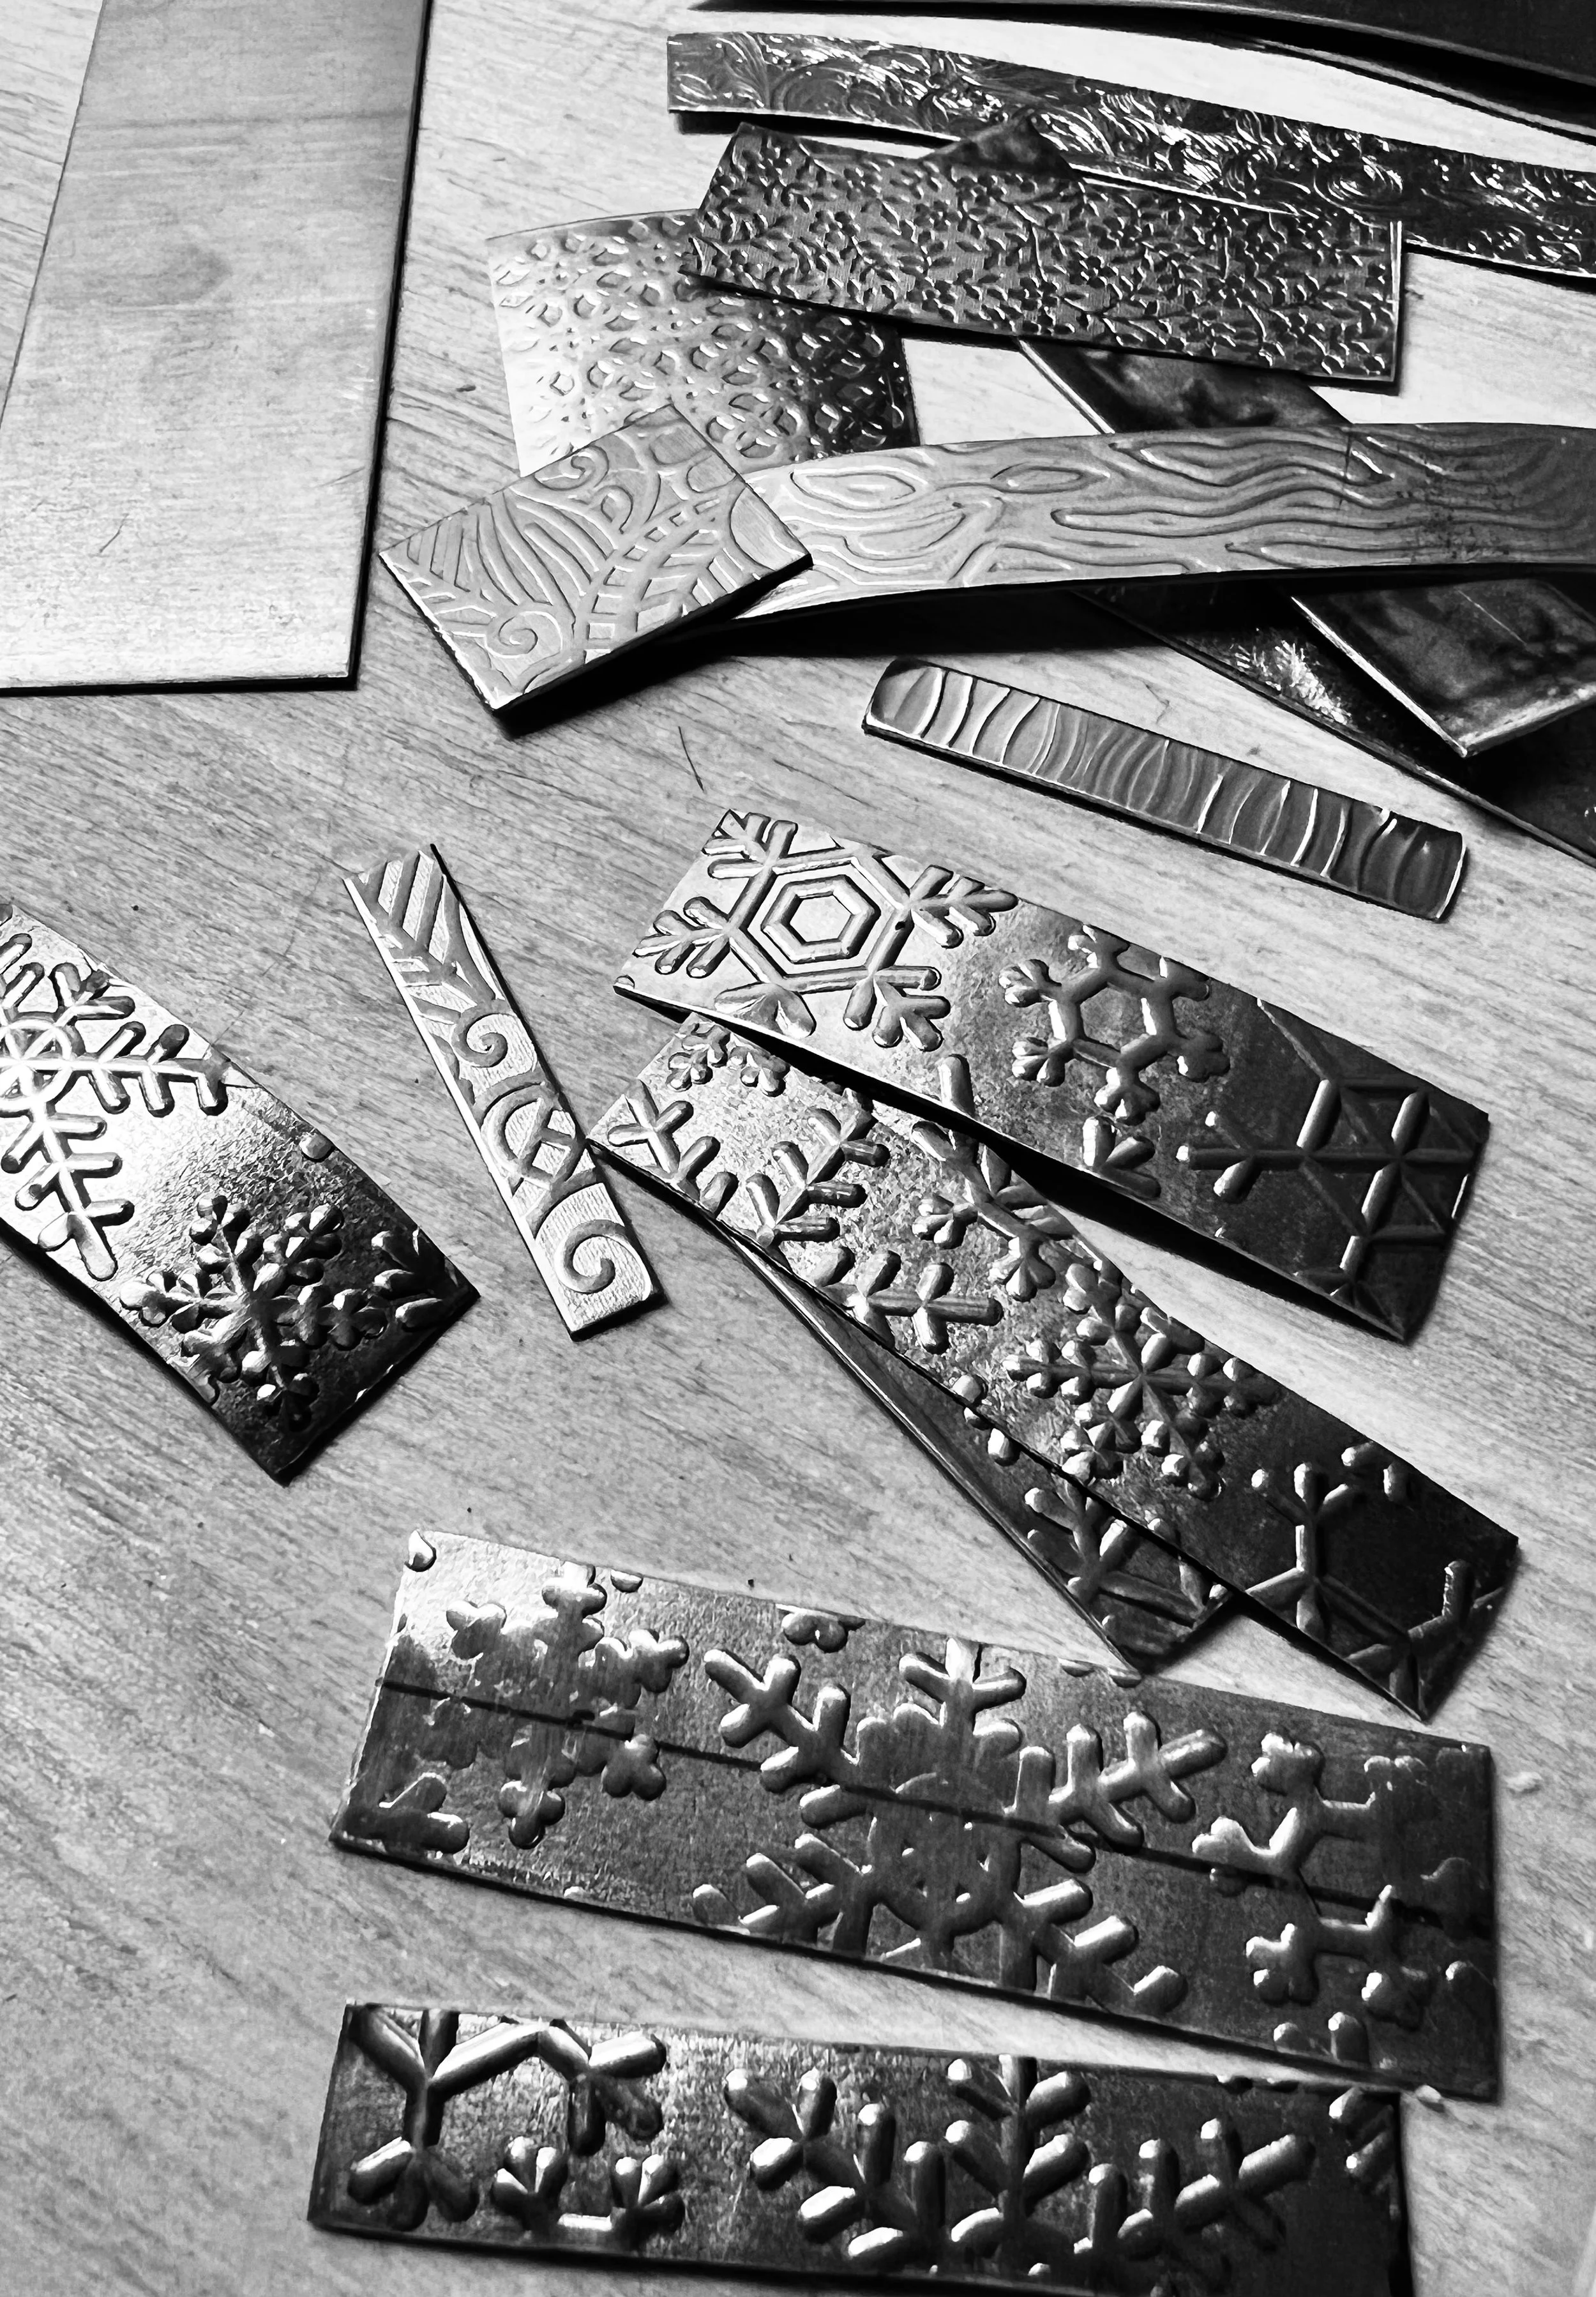
Silversmithing Techniques: using a rolling mill to texture metal
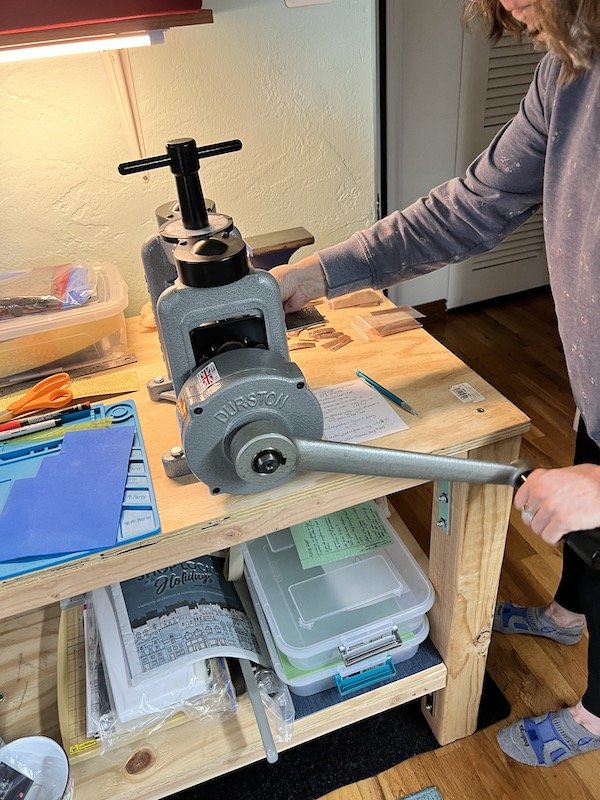
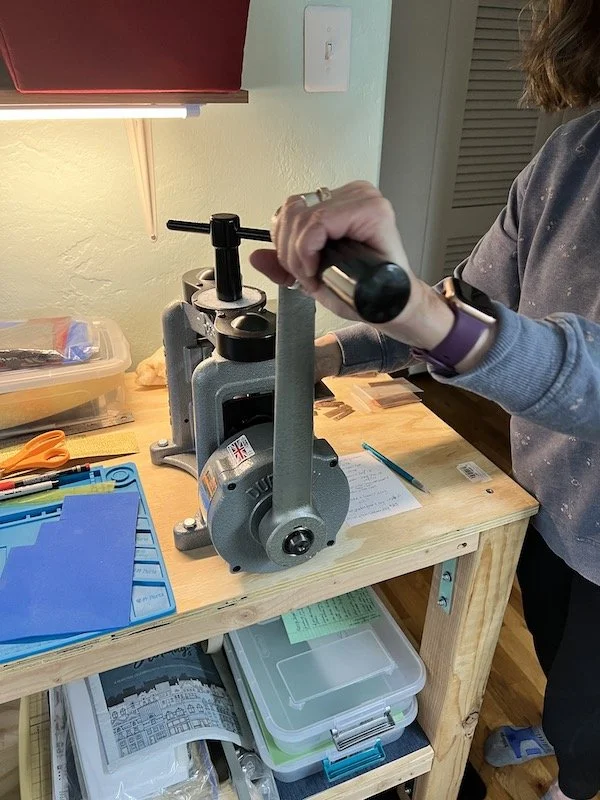
Before you read any further, I would like to say that this is one of the more expensive silversmithing techniques. It requires the use of a Rolling Mill. The prices for these can range from $150-$3500. The cheaper ones are generally the run manually, and the electric options are significantly more. I use a manual Rolling Mill, and it has done just fine on every project I have had for it.
Rolling Mills can be used in a variety of ways, but for the purposes of this how-to on silversmithing techniques, just talk about texturing.
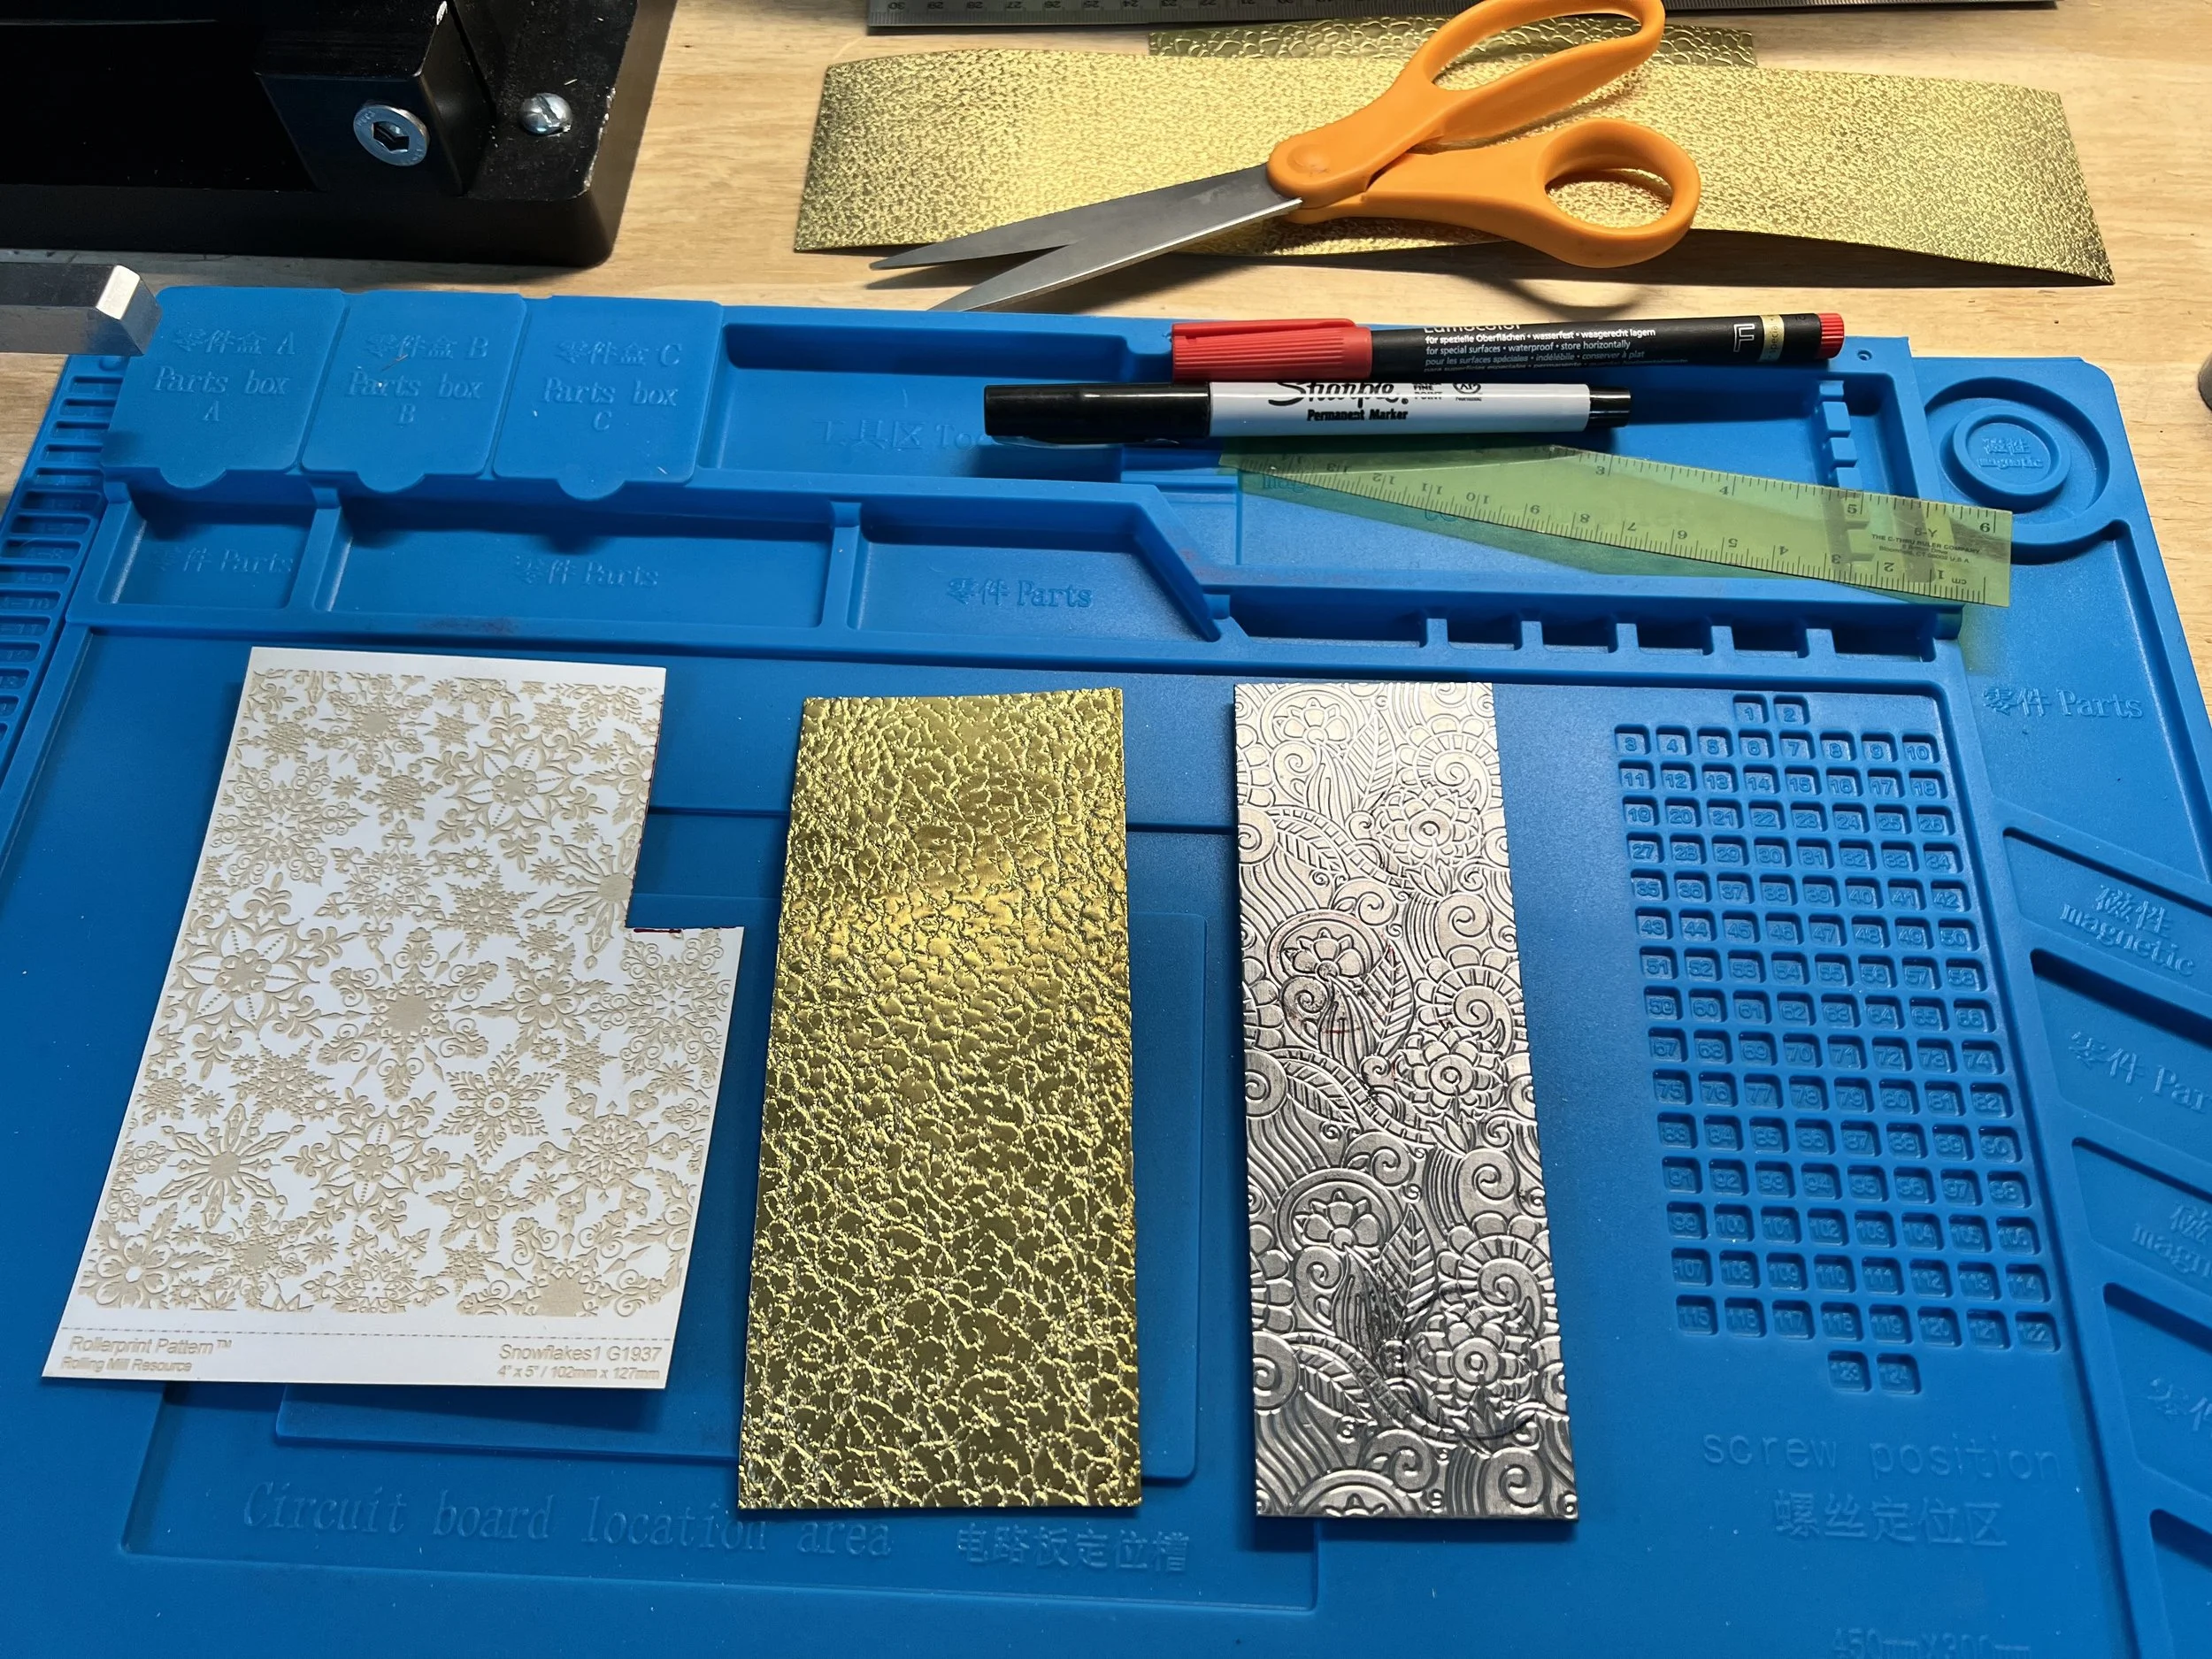
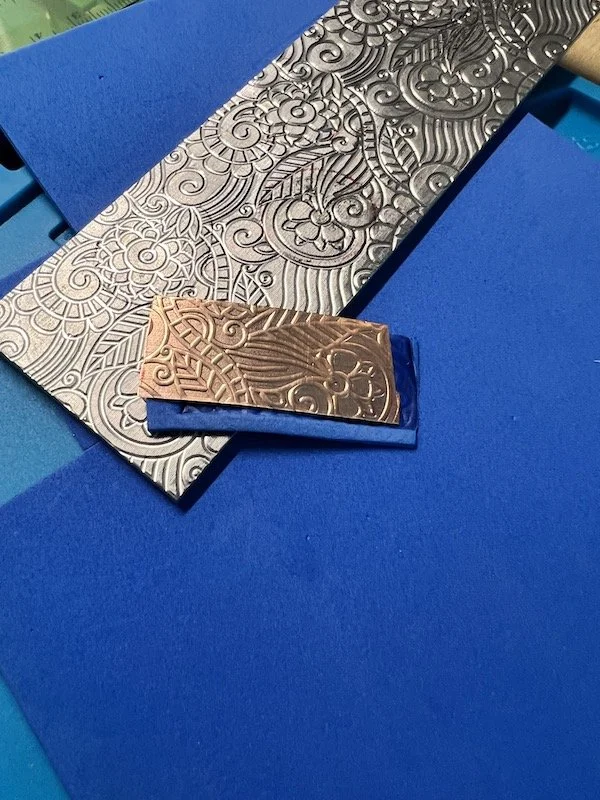
A Rolling Mill allows you to create texture on almost any metal. You can use the following items to create that texture:
Snake skins: yes, like from a real snake. I you happened to have one lying around and you want to imprint it on metal, now is your chance.
Cupcake papers: i’m talking about the fancy ones that look like lace, or heck, you could just use a piece of lace if you wanted that pattern.
Textured paper: watercolor paper makes in incredibly cool pattern.
Patterned metal plates: you can purchase a variety of them from Rio and Etsy.
Wire: yep, even just a piece of wire can make a unique pattern.
Pro Tip: whatever material you use must be dry, and you want it to made out of a material that is softer than the rollers.
Steps in the Rolling Mill silversmithing technique:
Plan your project
Decide on the texture you want to use, and the piece you want to create.
2. Practice before you do your final roll
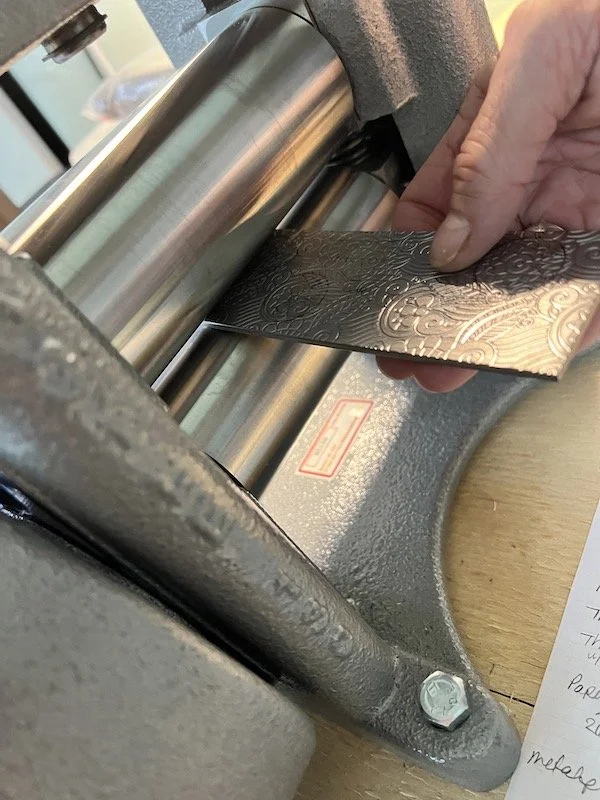
Its a good idea to practice on a scrap piece of copper before you go straight to your more expensive metal. This will also help you to adjust the tightness of the rollers to ensure you get a good smash. If you make them too snug, it can distort the metal, and if they are too loose you won’t get much of a pattern. Put the pattern between the rollers and tighten until snug, and just enough to be able to pull the plate out.
3. Make a sandwich
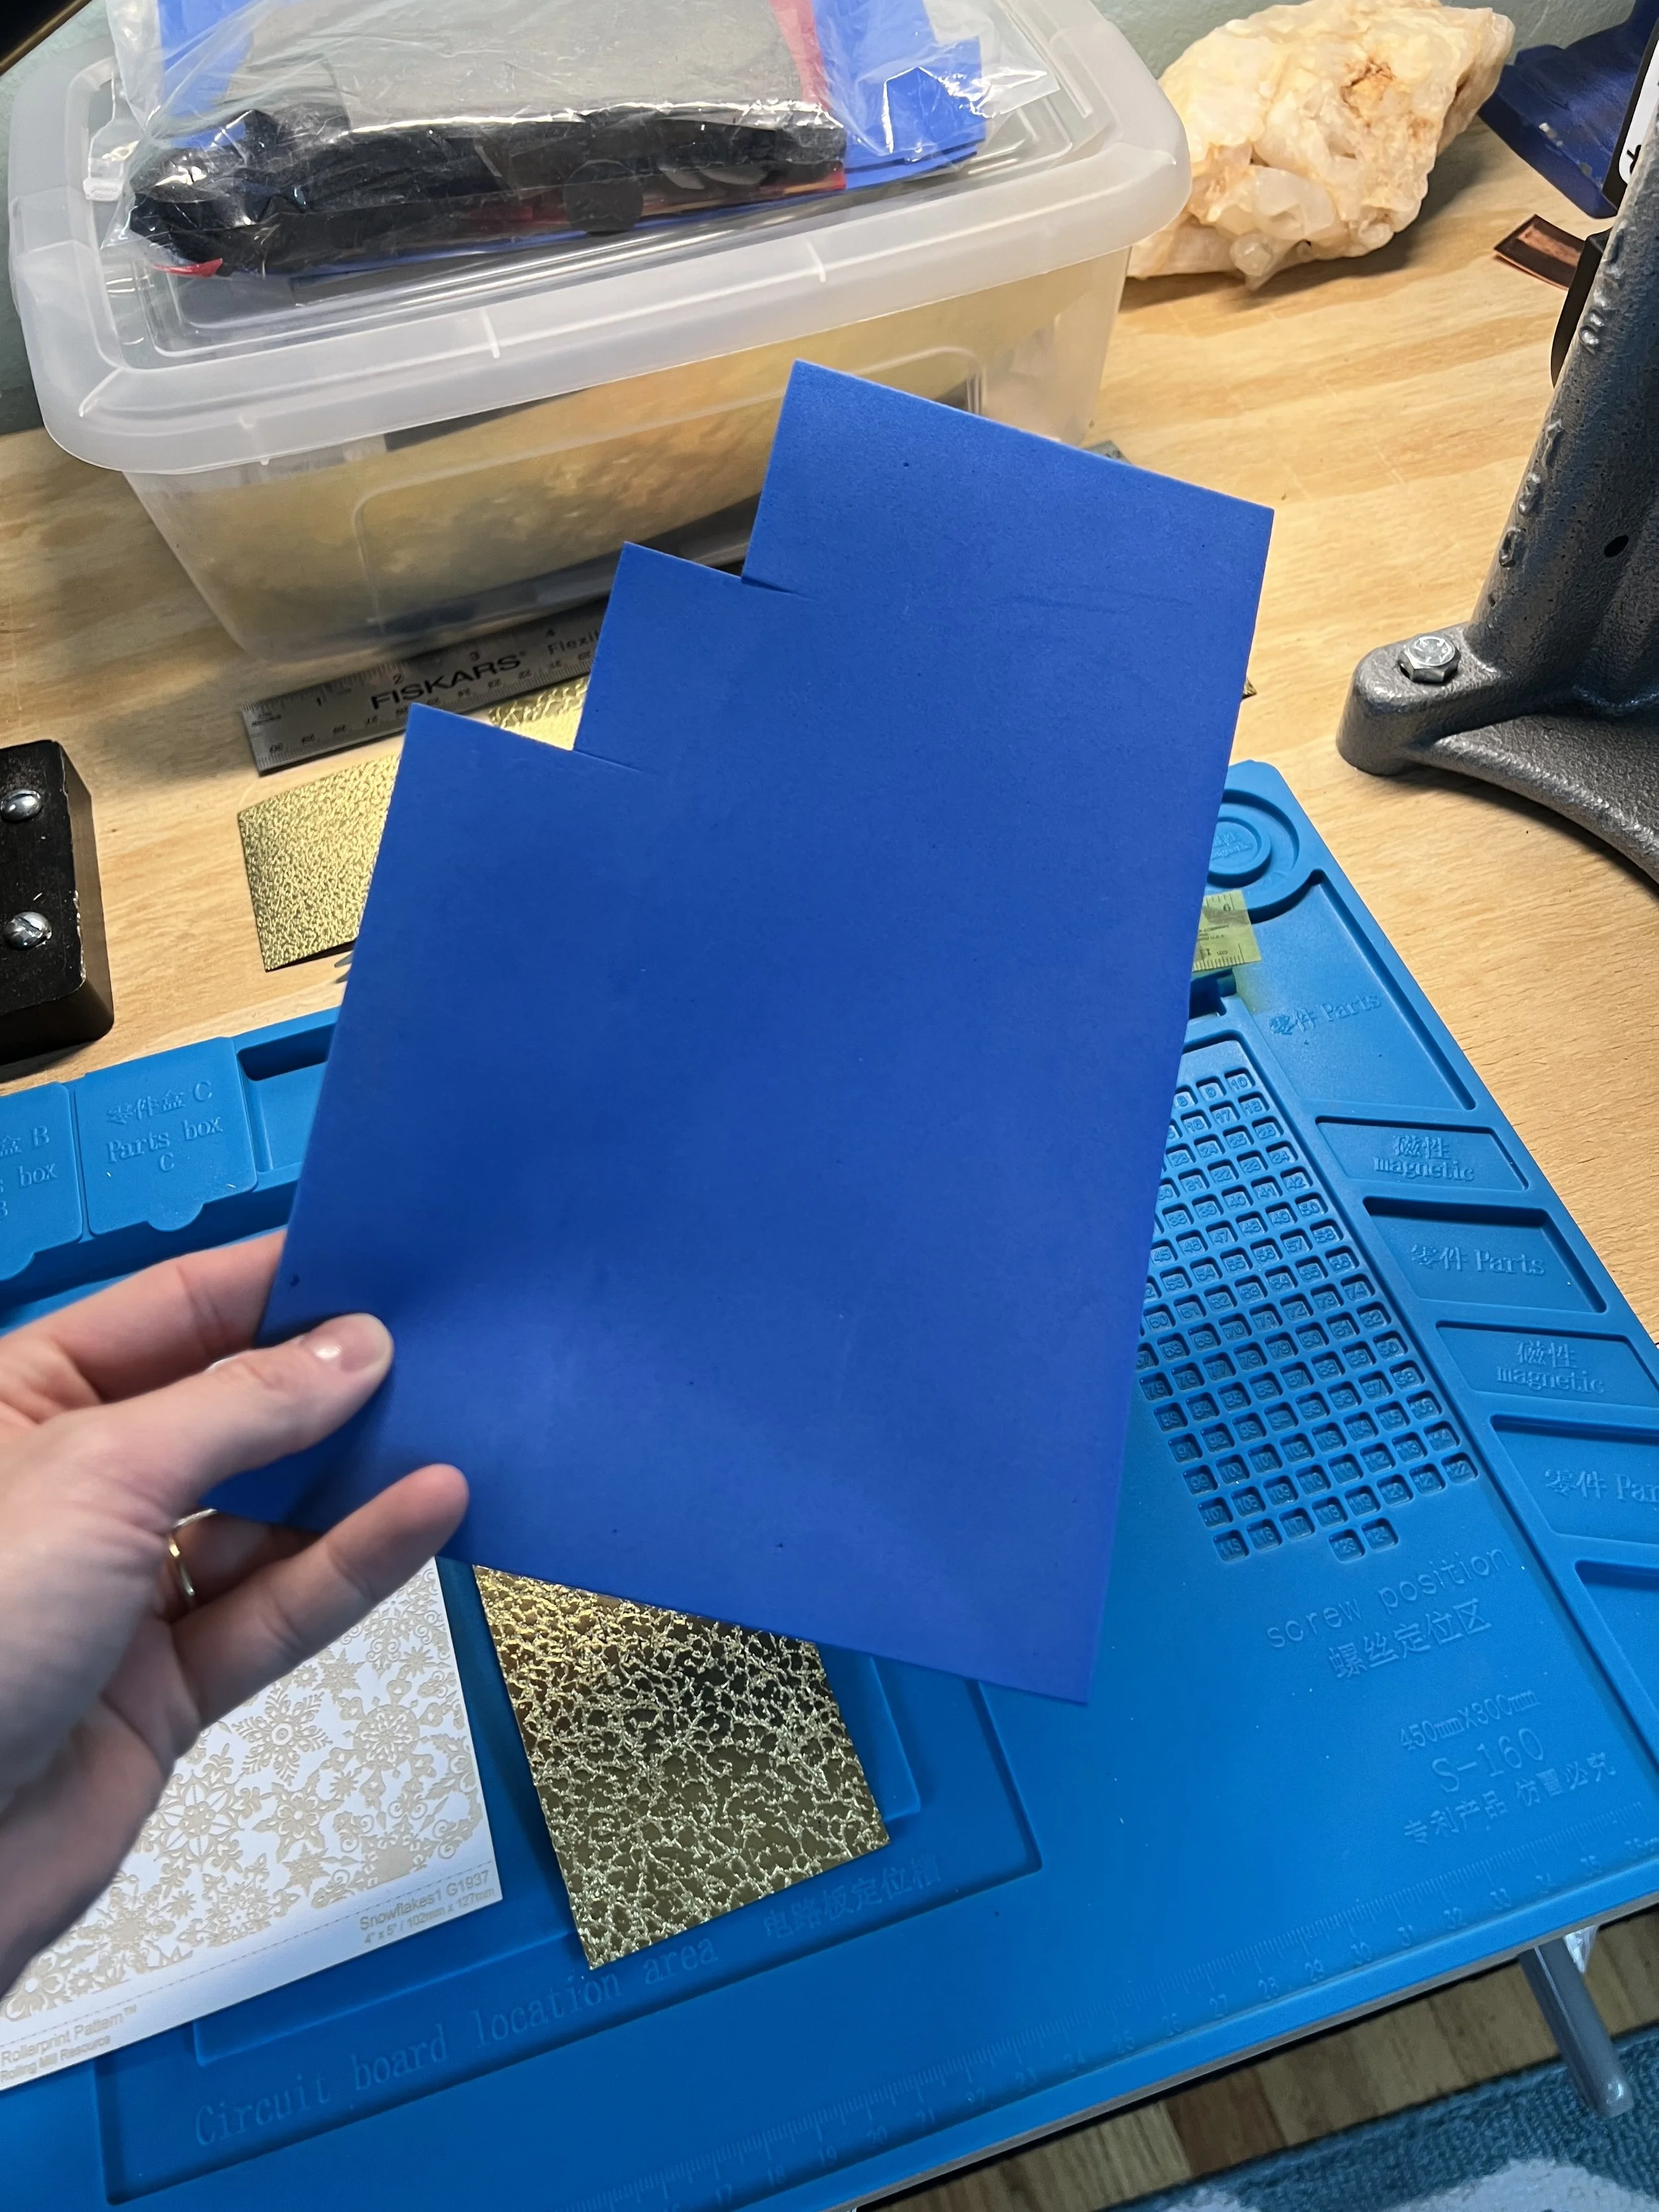
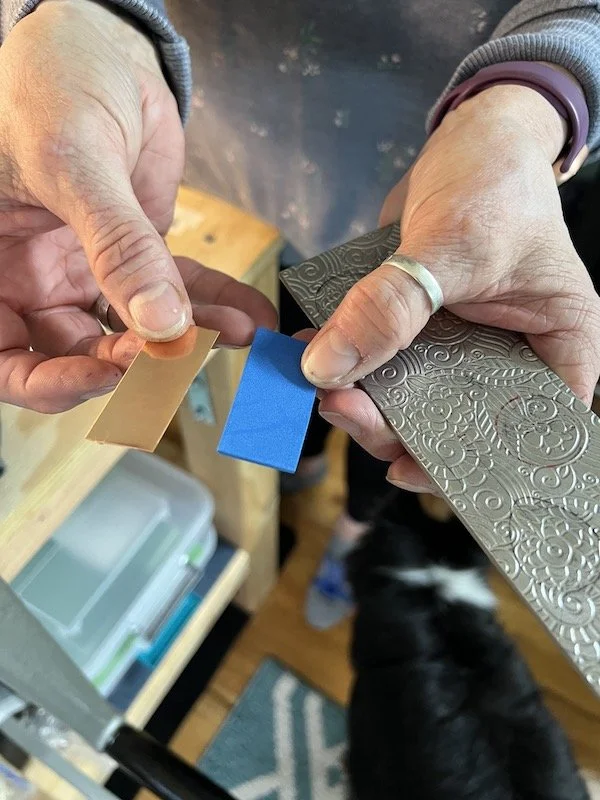
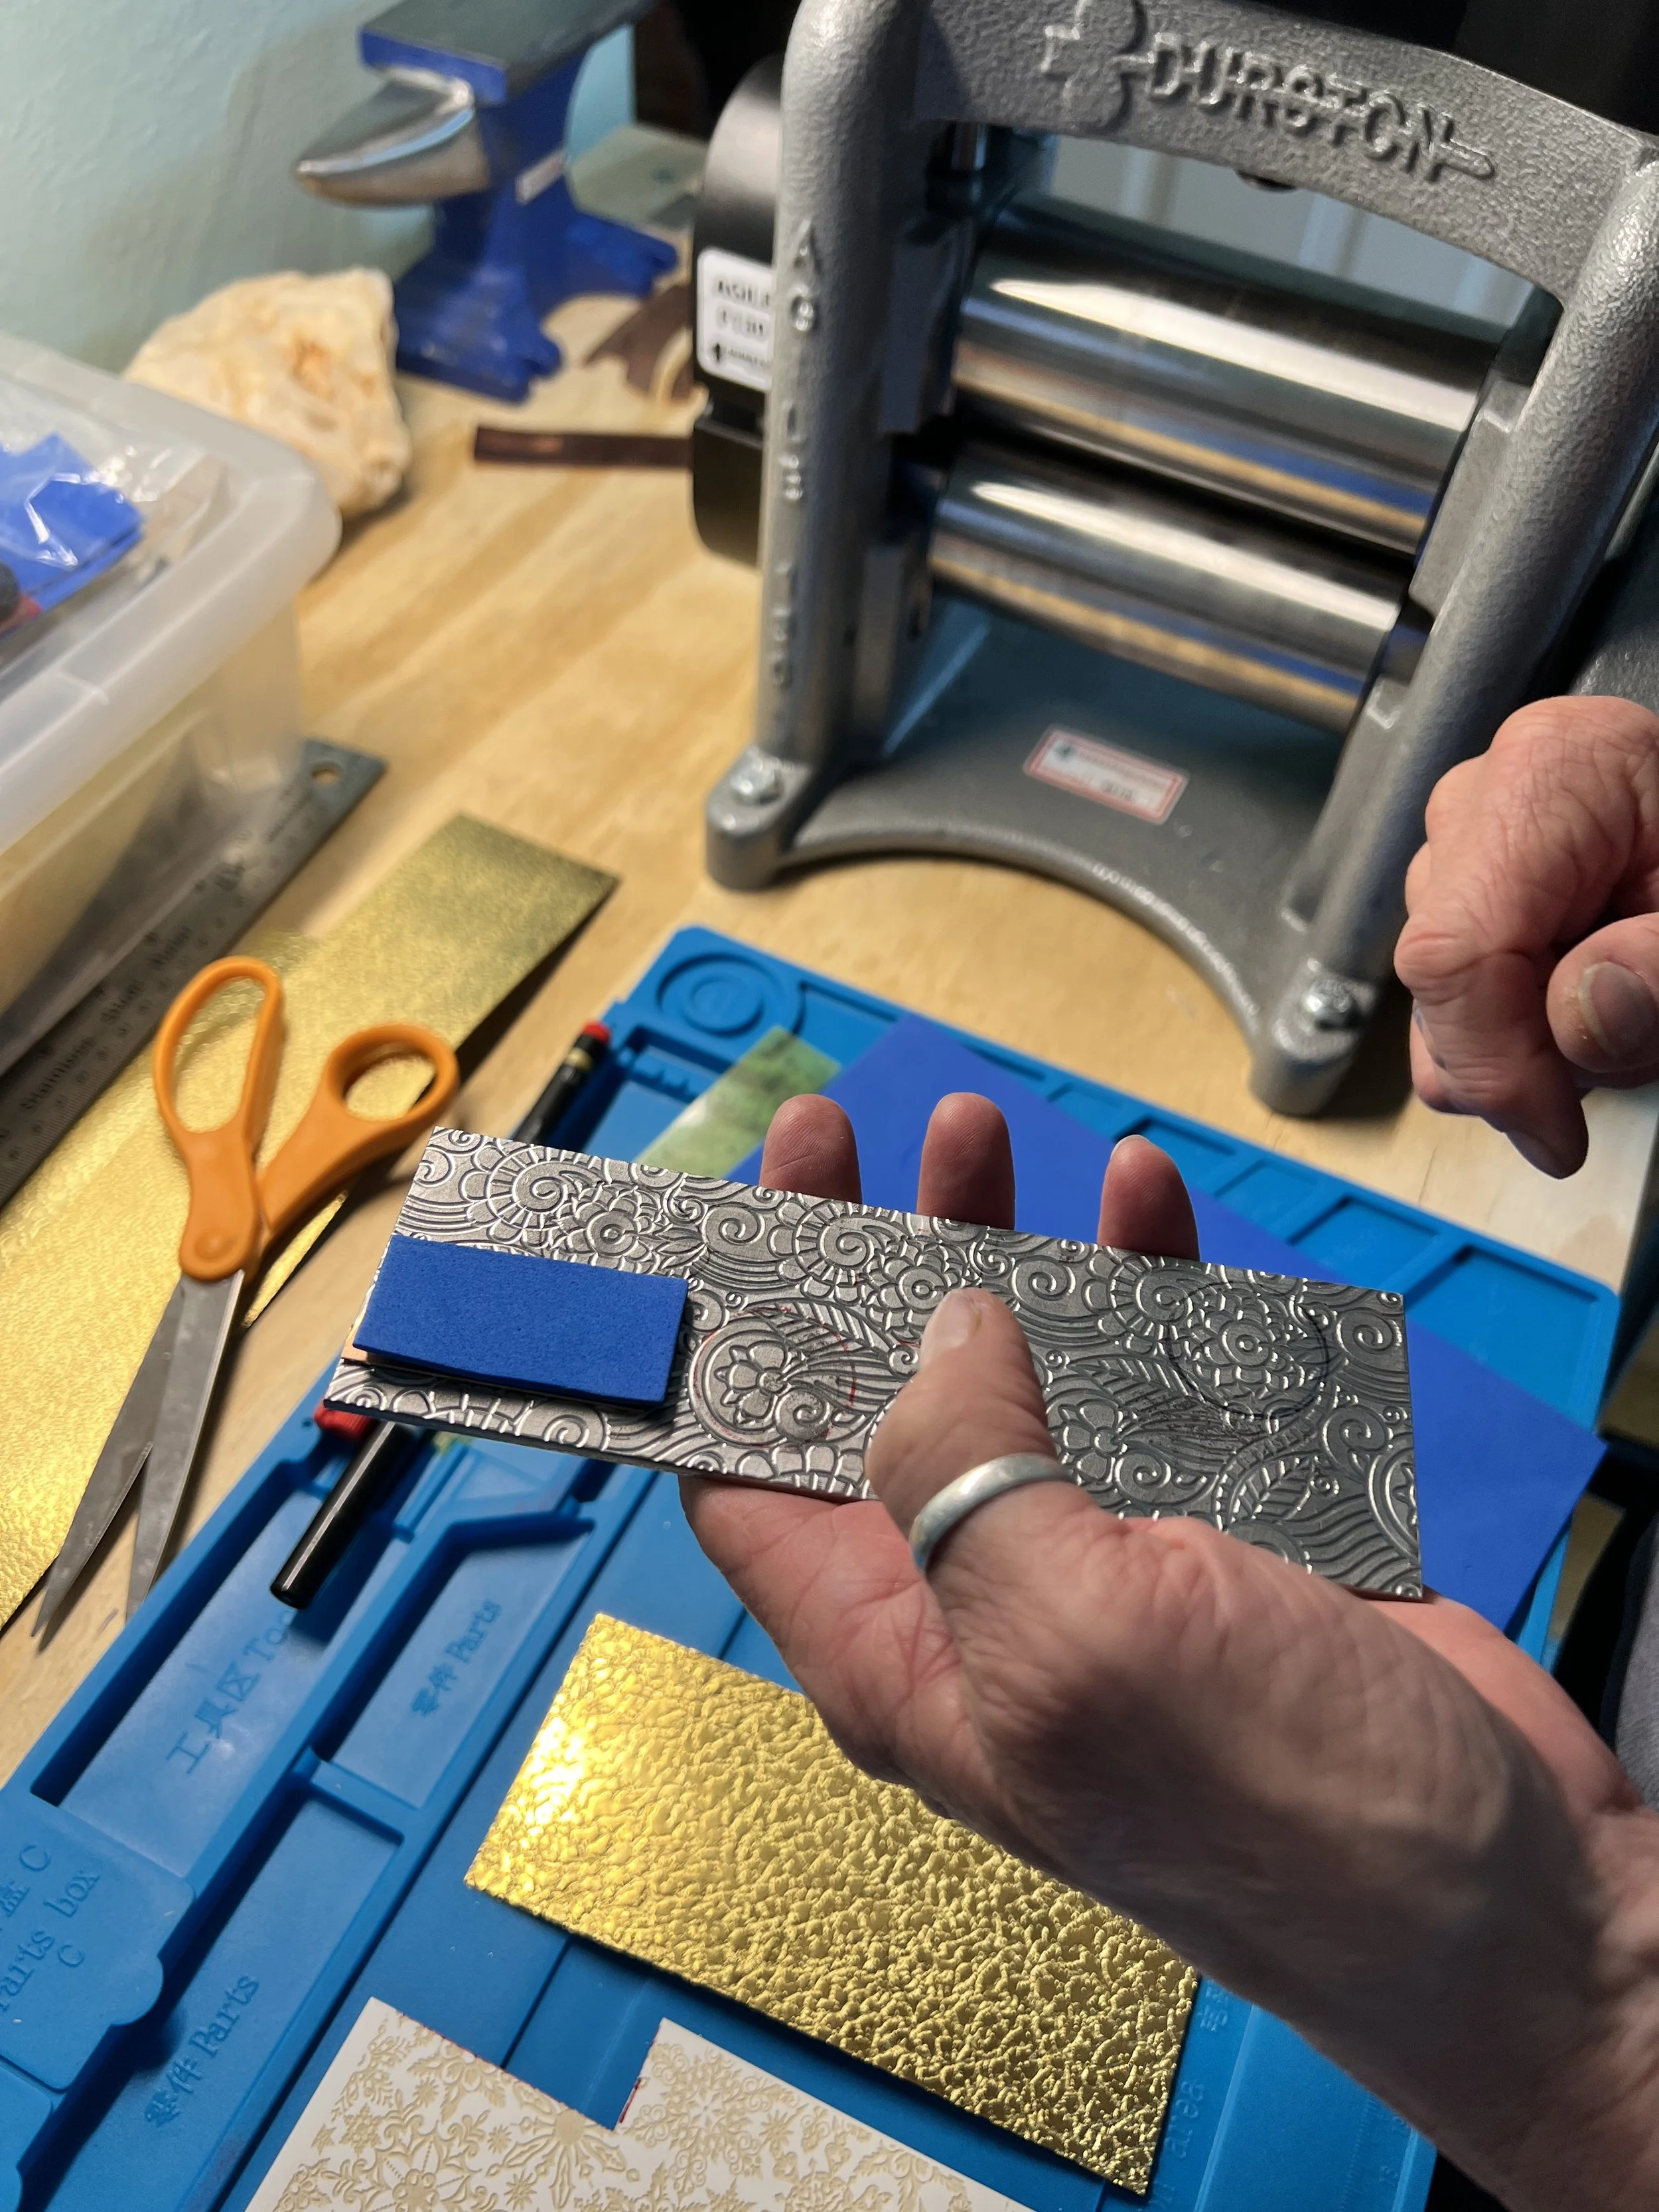
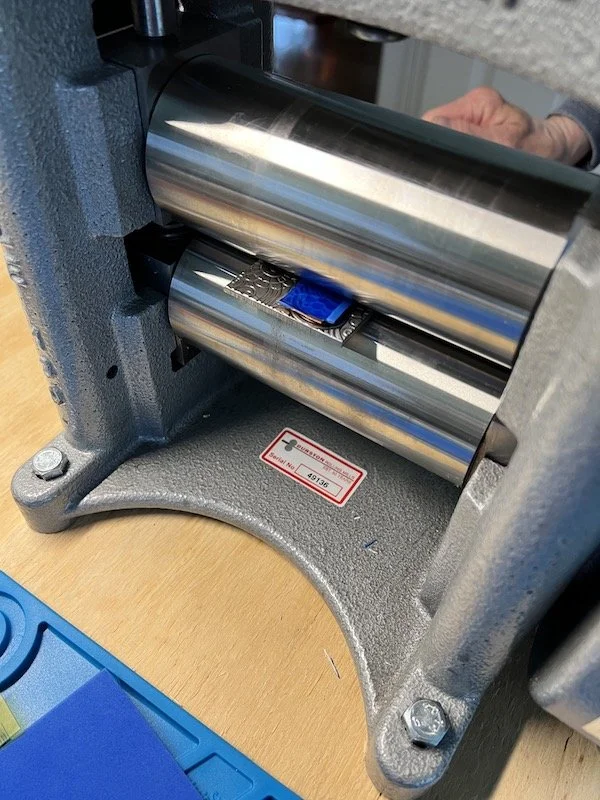
Make a sandwich with the ingredients in the following order: metal plate (or whatever you are using as texture), silver or copper, foam.
4. Get to Rolling
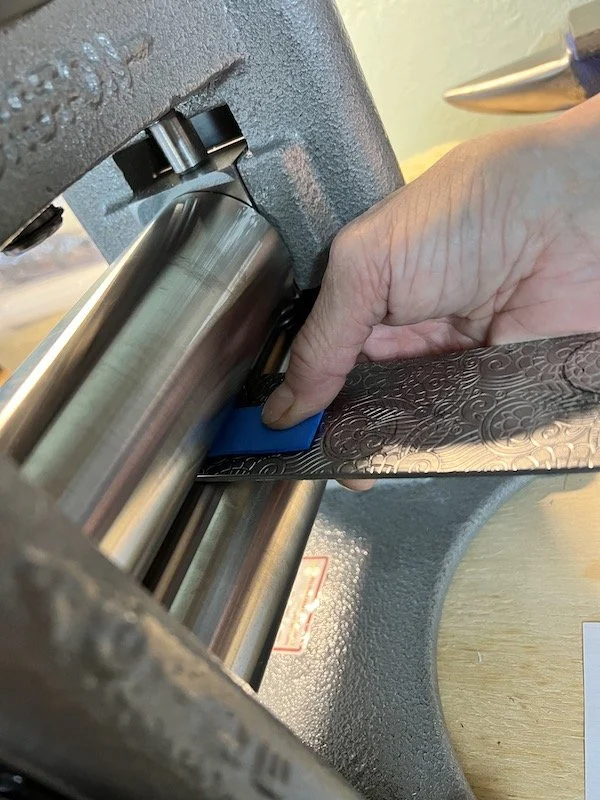
Feed the Mill your sandwich slowly while turning the hand crank (or turn the machine on if it is an electric version).
5. Check and Repeat
Check the metal to see if you have the impression and texture you are looking to achieve. If it looks good, yahoo! If not, adjust the roller pressure until you see the results you want.
Examples of jewelry created with the Rolling Mill:
If you are interested in any of the pieces above and they are sold out, please contact me and I can custom make an order for you!
I you have any questions on silversmithing techniques, don’t hesitate to reach out. You can reach me here.


