Tips on Setting Up a Soldering Station
Setting up your soldering station is one of the most important component of your shop. Here are a few essential tips:
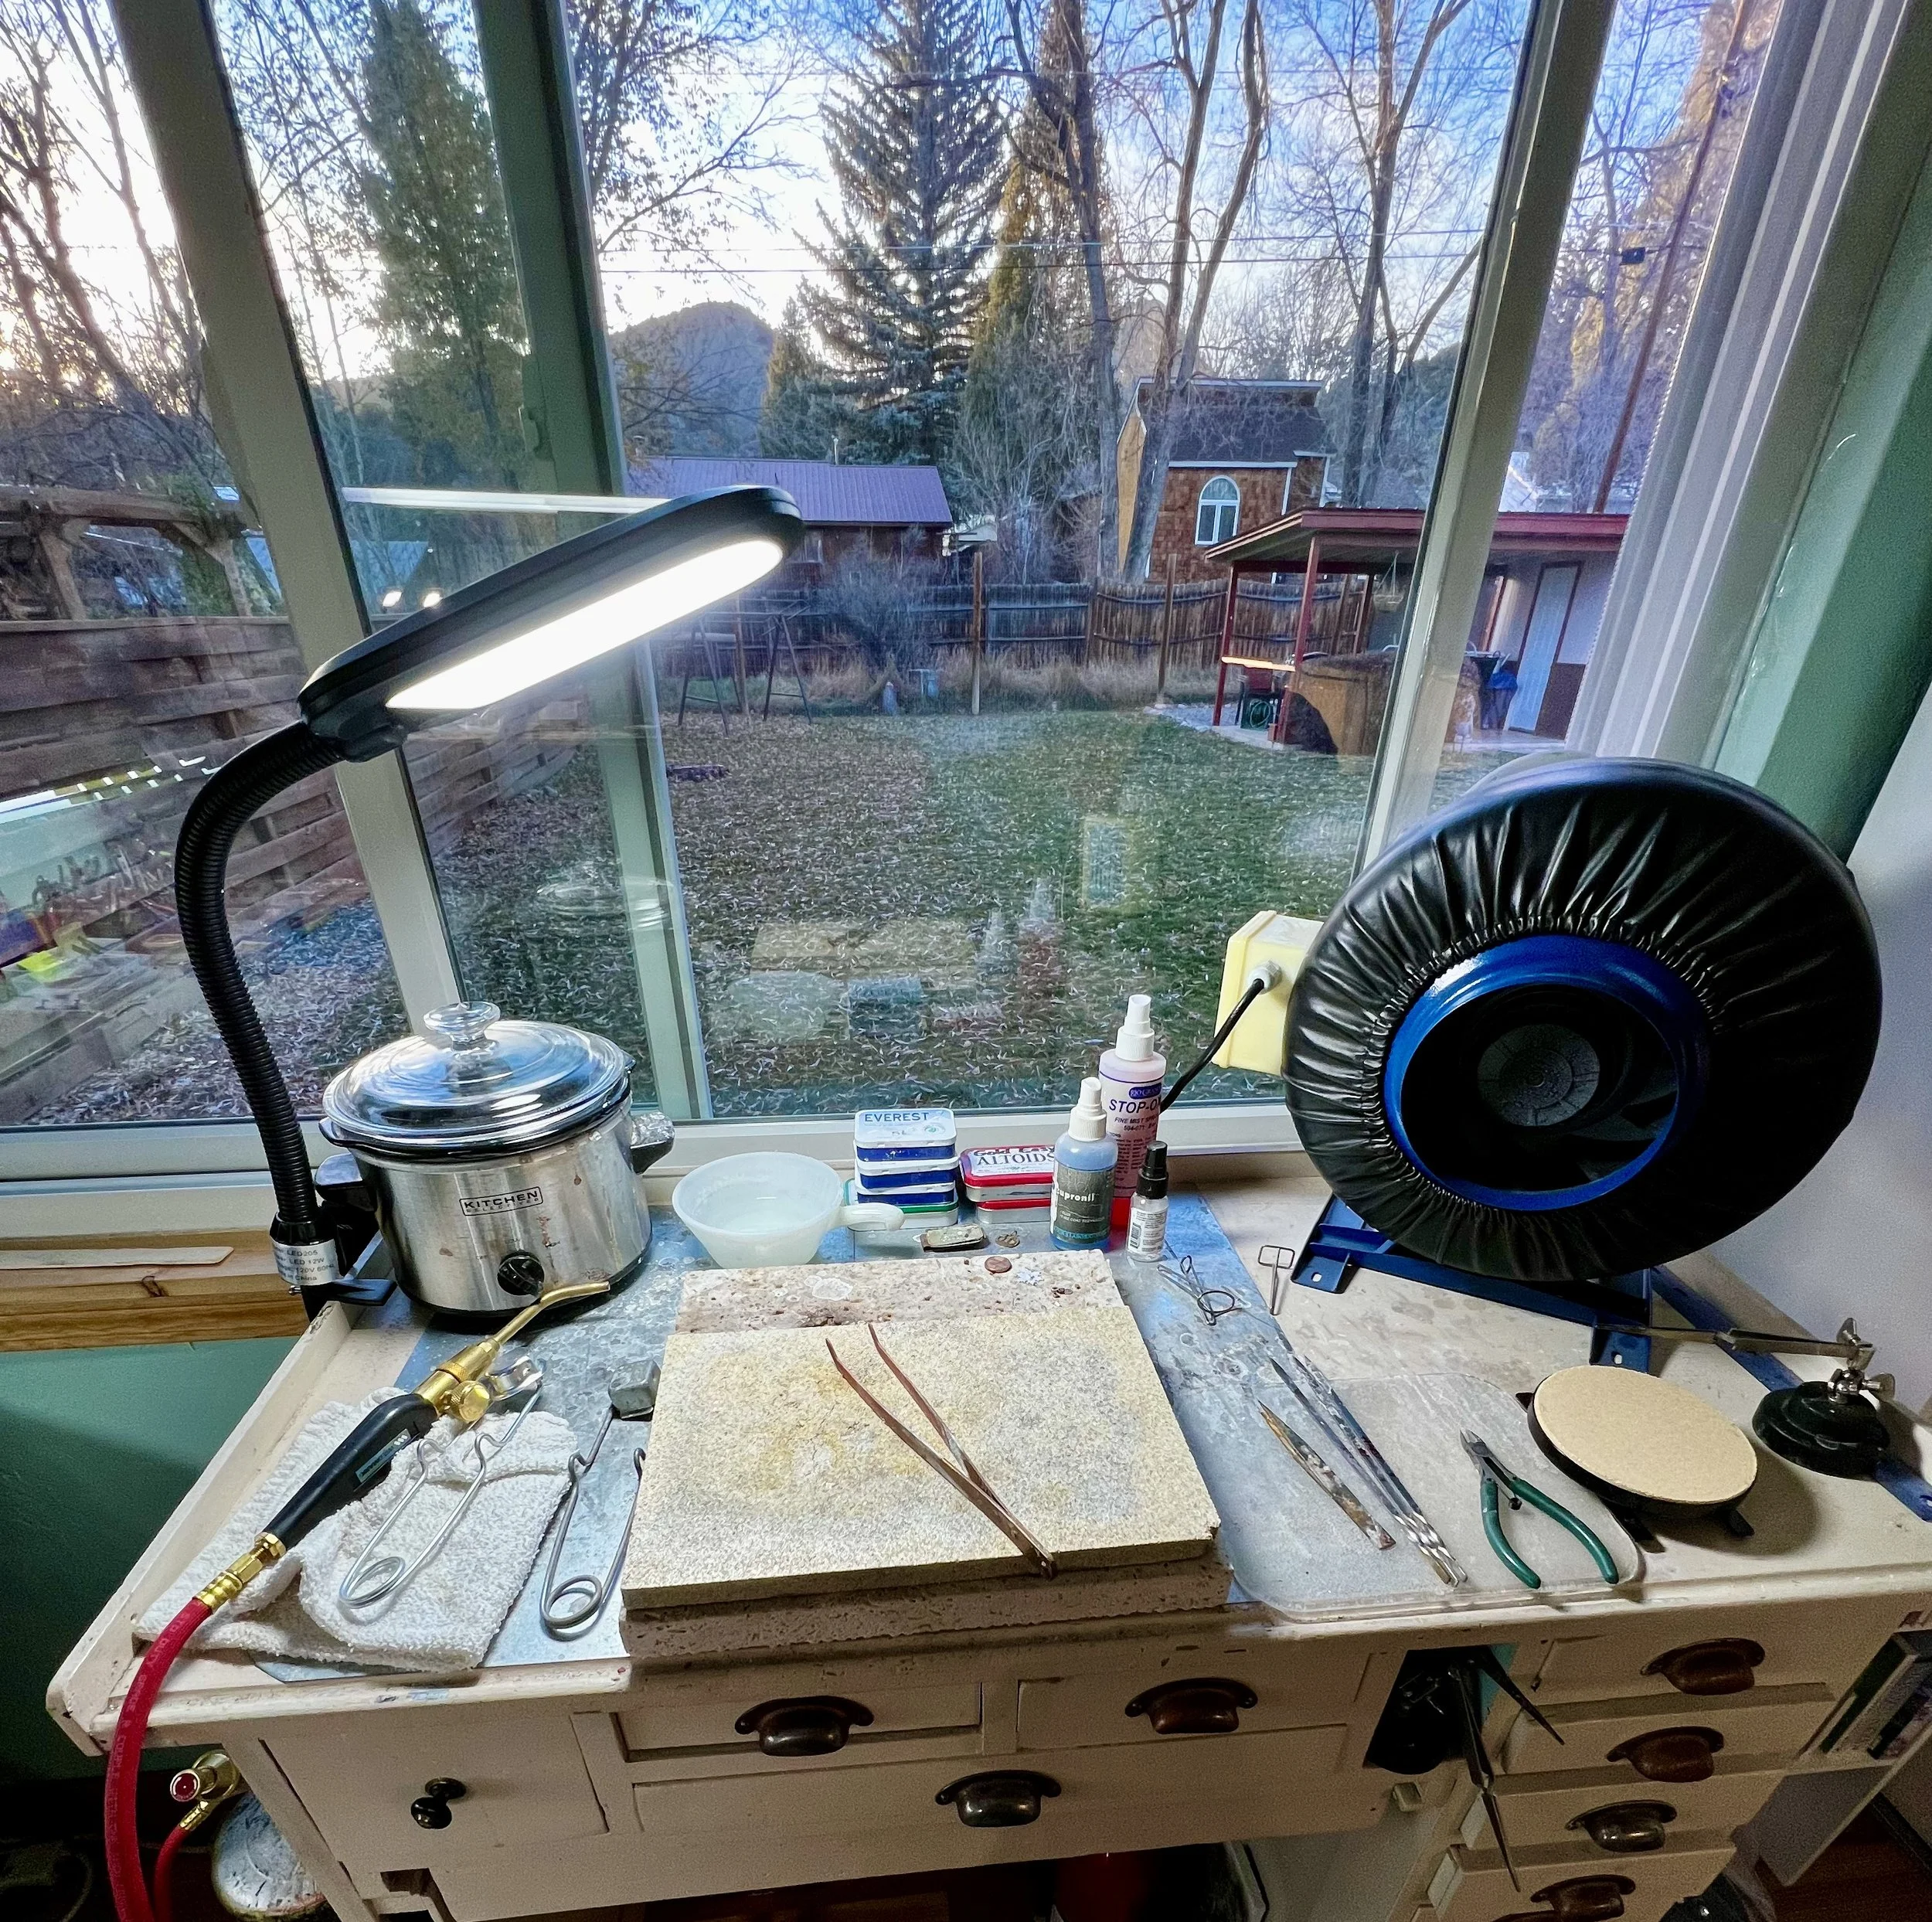
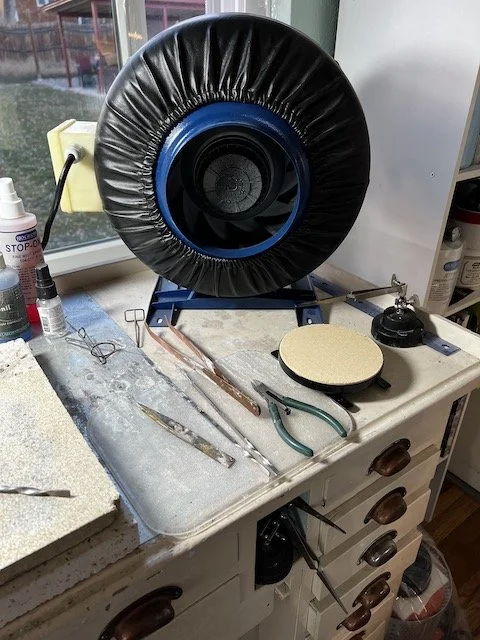
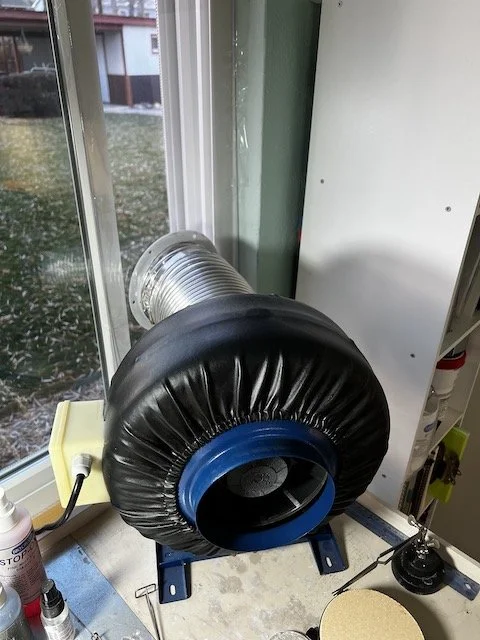
You need a way to ventilate your shop. Installed on the right side of my soldering table is an exhaust fan that is turned on when I am soldering to remove the toxic fumes from the space.
Keep your surfaces as clean as possible, you don’t want an accidental explosion or to melt any of your tools.
Having a well lit area is important because you want to see what you are doing! I invested in a lamp that turns off an on by simply touching it for easy access when my hands are occupied or dirty.
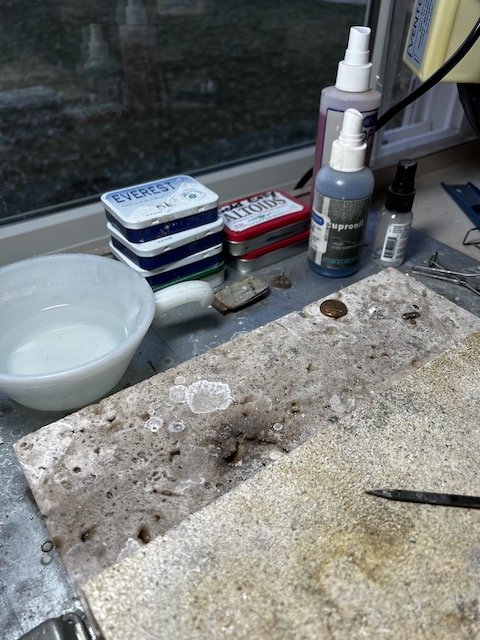
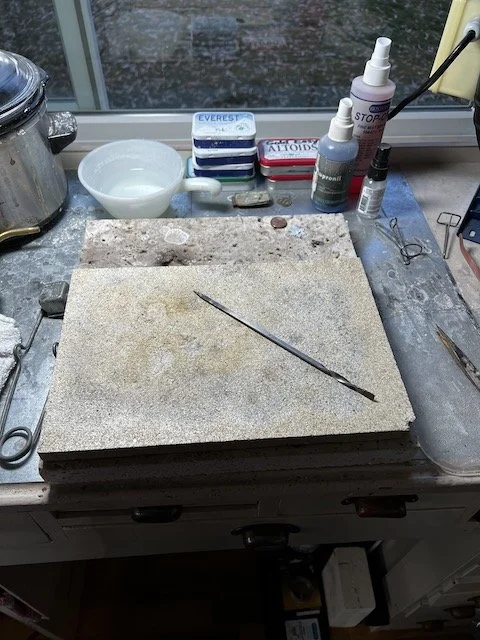
Your soldering station setup must have a flameproof surface where the actual soldering process occurs. The bench that I use is regular wood, so I use a flat sheet of metal that sits below a ceramic tile. There are plenty of options to suit your setup best, but just remember you are working with an open flame and need a buffer between your work station and the piece you are creating.
Have a fire extinguisher within reach! Mine is conveniently placed below my station for quick retrieval.
Materials that you might want to include in your soldering station setup:
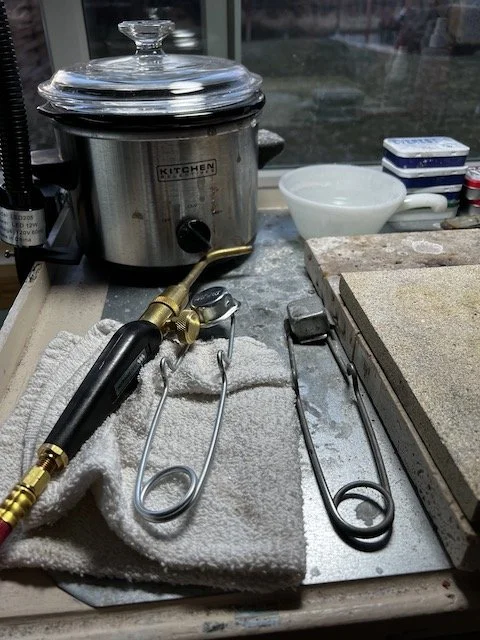
Torch
Ignitor
Soldering Board
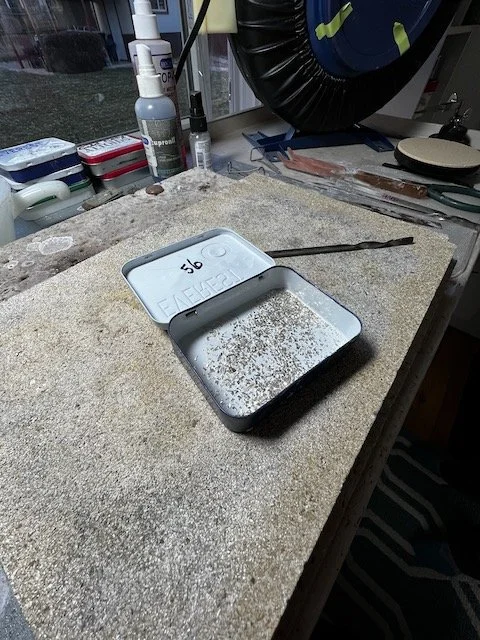
Solder in various temperatures (easy, medium, hard)
Soldering Pick
Pickle, and a Pickle Pot
Rag (make sure to keep it away from the flame)
Clean water bowl
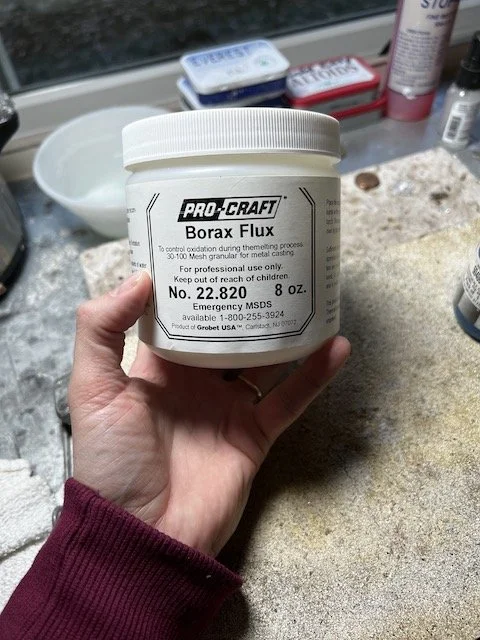
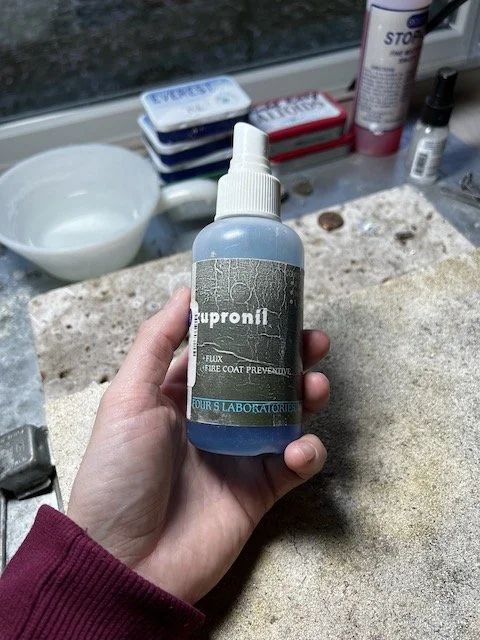
Flux
Torch Safety Tips:
Keep your torch set to low or light when igniting the flame, and then turn it up as needed.
Be sure that the area is free of toxic or flammable material, and there are no fumes present before lighting the torch.
When you are finished soldering, turn your gas tank off, and then ignite the torch again to burn off the remaining fuel so it does not leak into the rest of your house.
Remember to turn your gas tank off when you are finished soldering!!!!!! Don’t forget this part!!!
